
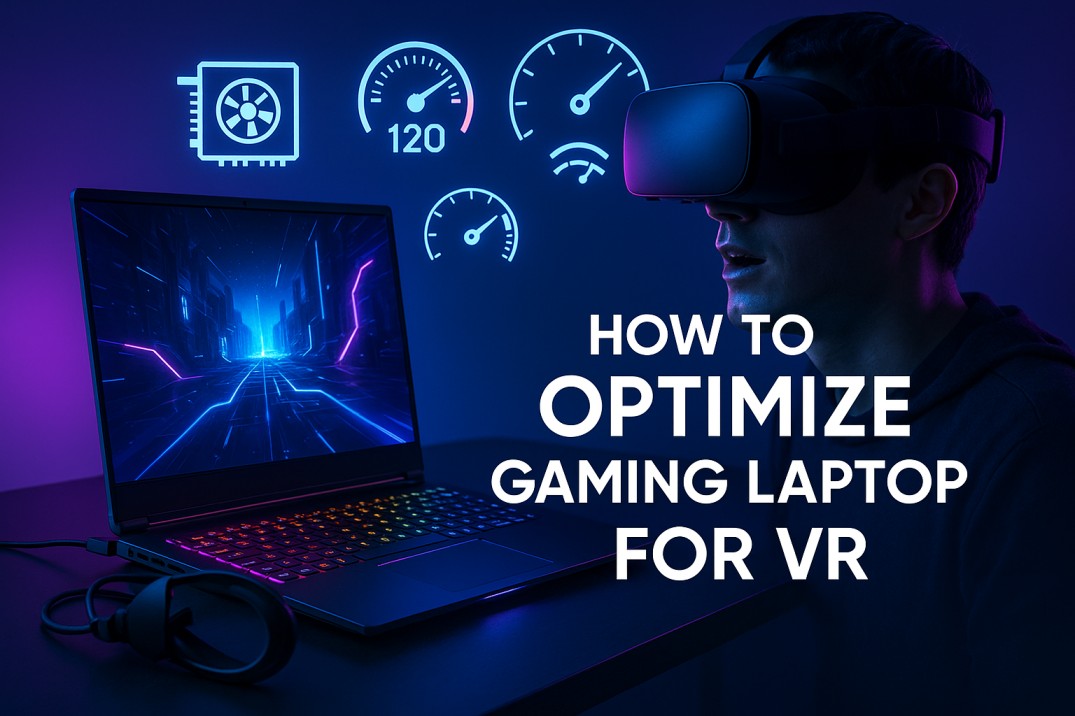
How to Optimize Gaming Laptop for VR: A Complete Guide
Virtual reality gaming has exploded in popularity, transforming how we experience digital worlds. But here’s the catch: VR demands significantly more from your hardware than traditional gaming. If you own a gaming laptop and want to dive into VR without upgrading your entire setup, you’re in the right place.
This guide walks you through practical steps to optimize gaming laptop for VR, ensuring smooth framerates, minimal lag, and an immersive experience. Whether you’re running a best budget gaming laptop or a high-end model, these optimization techniques will help you squeeze every ounce of performance from your machine.
Understanding the Hardware Requirements
Before diving into optimization, it’s crucial to know what VR actually demands from your gaming laptop.
Minimum vs. Recommended Specs
Most VR headsets like the Meta Quest 2, Valve Index, or HTC Vive require:
Minimum specs:
- GPU: NVIDIA GTX 1060 or AMD RX 480
- CPU: Intel i5-4590 or AMD Ryzen 5 1500X
- RAM: 8GB
- USB ports: USB 3.0
- Display ports: HDMI 1.4 or DisplayPort 1.2
Recommended specs:
- GPU: NVIDIA RTX 3060 or AMD RX 6600 XT
- CPU: Intel i7-9700K or AMD Ryzen 7 3700X
- RAM: 16GB or more
- Fast SSD storage
Your GPU handles the heavy lifting in VR, rendering two separate displays simultaneously at high refresh rates. The CPU manages physics calculations and background processes, while sufficient RAM prevents stuttering. If your laptop falls short on any of these, optimization becomes even more critical.
Optimizing Graphics Settings
Graphics settings can make or break your VR experience. The goal is finding the sweet spot between visual fidelity and performance.
In-Game Settings Adjustments
Start by lowering these settings in your VR games:
Resolution scaling: Drop this to 80-90% of native resolution. You’ll barely notice the difference in VR, but your framerate will thank you.
Anti-aliasing: Switch from MSAA to FXAA or TAA. These alternatives are less demanding while still reducing jagged edges.
Shadow quality: Shadows eat up GPU resources. Set them to medium or low.
Post-processing effects: Motion blur, depth of field, and ambient occlusion can be disabled or minimized in VR without significantly impacting immersion.
Texture quality: Keep this at high if possible, as textures matter more in VR when objects are close to your face.
SteamVR Settings
If you’re using SteamVR, adjust the render resolution in the settings:
- Open SteamVR
- Go to Settings > Video
- Set the “Render Resolution” slider to Custom
- Start at 100% and decrease if you experience lag
Updating Drivers and Software
Outdated software is one of the most common culprits behind poor VR performance.
Graphics Drivers
GPU manufacturers regularly release driver updates that improve VR performance:
For NVIDIA cards:
- Open GeForce Experience
- Navigate to the Drivers tab
- Click “Check for Updates”
- Install the latest Game Ready Driver
For AMD cards:
- Open AMD Radeon Software
- Go to Updates
- Download and install the latest Adrenalin Driver
VR Platform Software
Keep your VR platform updated:
- SteamVR: Updates automatically but check for beta versions with performance improvements
- Oculus Software: Set to auto-update in Settings
- Windows: Ensure Windows 10/11 is fully updated for compatibility
Managing Background Processes
Your gaming laptop runs numerous background applications that consume valuable resources.
Identifying Resource Hogs
- Press Ctrl + Shift + Esc to open Task Manager
- Sort processes by CPU and Memory usage
- Close unnecessary applications like:
- Web browsers with multiple tabs
- Streaming software (Discord, Spotify)
- Cloud sync services (Dropbox, OneDrive)
- RGB lighting software (when not needed)
Disable Startup Programs
Many programs launch automatically when Windows starts:
- Open Task Manager
- Navigate to the Startup tab
- Disable programs you don’t need immediately at boot
This frees up RAM and CPU cycles for VR applications.
Using Performance Monitoring Tools
Understanding your system’s performance in real-time helps you identify bottlenecks.
MSI Afterburner
This free tool displays GPU temperature, usage, and framerate:
- Download and install MSI Afterburner
- Enable On-Screen Display in settings
- Monitor GPU temperature (should stay below 85°C)
- Watch GPU usage (should be near 100% for optimal performance)
fpsVR
Specifically designed for VR, fpsVR (available on Steam) shows:
- Current framerate
- Frame time
- CPU and GPU usage
- Headset battery level
If you see consistent frame drops below 90 FPS (or your headset’s target refresh rate), you need further optimization.
Adjusting Power Settings
Gaming laptops often default to balanced power modes that throttle performance to save battery.
Windows Power Options
- Open Control Panel
- Navigate to Power Options
- Select “High Performance” mode
- Click “Change plan settings”
- Set “Turn off display” and “Put computer to sleep” to Never (while plugged in)
NVIDIA Control Panel
For NVIDIA GPUs:
- Right-click on desktop and open NVIDIA Control Panel
- Go to Manage 3D Settings
- Set “Power management mode” to “Prefer maximum performance”
- Apply changes
Keep It Plugged In
VR gaming drains battery rapidly. Always plug in your best gaming laptop during VR sessions. Most laptops significantly throttle performance when running on battery to preserve power.
Cooling Solutions
Heat is the enemy of performance. As temperatures rise, your laptop throttles to prevent damage.
External Cooling Pads
Invest in a quality laptop cooling pad with multiple fans. Position it to align with your laptop’s intake vents. This can reduce temperatures by 5-10°C, preventing thermal throttling.
Elevate Your Laptop
Even without a cooling pad, elevating the rear of your laptop improves airflow. Use a laptop stand or improvise with books.
Clean Your Vents
Dust buildup restricts airflow. Use compressed air to clean the intake and exhaust vents every few months. For deeper cleaning, consider professional servicing to replace thermal paste.
Monitor Temperatures
Use HWiNFO or Core Temp to track CPU and GPU temperatures during VR sessions. If either consistently exceeds 85°C, cooling is a priority.
Connection and Compatibility
VR headsets require specific ports and stable connections.
Use the Correct Ports
Most VR headsets need:
- USB 3.0 or higher: Essential for data transfer
- DisplayPort or HDMI: For video output
Check your laptop’s specifications. Some best budget gaming laptops only have HDMI 1.4, which limits refresh rates. You may need a DisplayPort adapter.
USB Bandwidth
VR headsets can saturate USB bandwidth. If you experience tracking issues:
- Plug the headset into a dedicated USB controller
- Disconnect other USB devices
- Avoid USB hubs when possible
Cable Management
Keep VR cables organized to prevent disconnections during gameplay. Use cable clips or a pulley system for overhead routing.
Pros and Cons of Optimizing Your Gaming Laptop for VR
Pros
- Cost-effective: Optimization extends the life of your current gaming laptop without expensive upgrades
- Improved performance: Proper settings can dramatically boost framerates and reduce lag
- Better experience: Smoother VR means less motion sickness and more immersion
- Learning opportunity: Understanding optimization helps with general PC gaming performance
Cons
- Time-consuming: Finding the perfect settings requires trial and error
- Hardware limitations: Optimization can’t overcome seriously outdated hardware
- Potential overheating: Pushing your laptop harder generates more heat
- Reduced visual quality: Performance often requires sacrificing some graphics settings
Maximize Your VR Experience
Optimizing a gaming laptop for VR involves balancing performance, thermals, and visual quality. By understanding your hardware limitations, tweaking graphics settings, maintaining updated software, and implementing proper cooling, you can achieve smooth, immersive VR experiences.
Start with the basics: update your drivers, close background applications, and switch to high-performance power mode. Then progressively fine-tune graphics settings until you reach a stable framerate. Monitor your temperatures and invest in cooling solutions if needed.
Remember, how to optimize gaming laptop for VR isn’t a one-time fix. As new games and VR applications release, you’ll need to revisit these settings. The good news? Once you understand the process, adjustments become quick and intuitive.
Ready to take your VR gaming to the next level? Apply these optimizations and prepare for a smoother, more immersive virtual reality experience.
For more information about how to optimize gaming laptop for VR, visit our site Tech Nova and explore expert insights and solutions.


Pingback: For just $599, get this 2025 Asus TUF A16 gaming laptop. - Tech Nova